Why Getting ADA Sign Installation Guidelines Right Protects Your Property
ADA sign installation guidelines require tactile signs to be mounted on the latch side of the door, with the baseline of the lowest raised character at least 48 inches above the finished floor and no higher than 60 inches at the top. Here’s a quick summary of the core rules:
- Location: Latch side of door, on the adjacent wall
- Tactile sign height: 48 inches (min) to 60 inches (max) above finished floor
- Recommended centerline: 54 inches above floor
- Clear floor space: 18 x 18 inches in front of the sign, outside the door swing
- Characters: Raised, uppercase, sans serif, with Grade 2 Braille below
- Finish: High contrast, non-glare surface
If you manage a commercial property in the DFW Metroplex, ADA signage isn’t optional. The Americans with Disabilities Act has been federal law since 1990, and the standards were updated in 2010. More than 7.5 million Americans are legally blind or visually impaired — and properly installed tactile and Braille signs are one of the most direct ways a building serves those people.
The stakes are real. First-time violations can bring fines as high as $75,000, and over 50% of ADA sign designs submitted for review in 2020 had at least one non-compliant element. Most failures come down to simple installation errors — wrong height, wrong location, or wrong materials.
This guide breaks down exactly what you need to know to get it right.

Understanding ADA Sign Installation Guidelines for Compliance
When we talk about “ADA signs,” we aren’t just talking about the blue wheelchair symbol. The ADA Standards for Accessible Design divide signs into categories based on what they do. To stay compliant in the DFW Metroplex, you first have to know which signs require tactile features (raised characters and Braille) and which can be visual-only.
What Signs Must Be Compliant?
The most critical category is Permanent Room Identification. If a room isn’t likely to change its function, it needs a tactile sign. This includes:
- Restrooms: These are the most common signs we install. They must identify the facility and include the International Symbol of Accessibility (ISA) if the restroom is accessible.
- Room Numbers and Names: Classroom 101, “Kitchen,” or “Mechanical Room” signs are all considered permanent.
- Exit Doors: Doors at exit stairways, exit passageways, and exit discharge points require tactile labeling.
- Floor Levels and Stairwells: Each floor level within a stairwell must be identified so someone with a visual impairment can navigate the building safely.
What is Exempt?
Not every piece of plastic on your wall needs Braille. Building addresses, directories, and temporary signs (those intended to be used for seven days or less) do not have to follow these strict tactile rules. However, if you provide a sign that labels a permanent space, it must comply. There is no middle ground here—if it’s permanent, it needs to be accessible.
Technical Specifications for Tactile and Visual Characters
To be truly helpful to someone with a visual impairment, a sign has to be more than just “present.” It has to be readable by touch and by sight. This is where the technical side of ada sign installation guidelines gets specific.
| Feature | Tactile Requirement (Raised) | Visual Requirement (Flat/Printed) |
|---|---|---|
| Character Height | 5/8″ minimum to 2″ maximum | Varies by mounting height (usually 5/8″ min) |
| Font Style | Sans Serif only (no italics or script) | Sans Serif or Serif (must be legible) |
| Case | Uppercase only | Uppercase or Lowercase |
| Braille | Grade 2 Braille required | Not required |
| Finish | Non-glare / Matte | Non-glare / Matte |
| Contrast | High (Light on Dark or vice versa) | High (Light on Dark or vice versa) |
Raised Characters and Braille
Raised characters must be at least 1/32 of an inch thick. This might seem like a tiny measurement, but it’s the difference between a character that can be felt and one that just feels like a bump.
Underneath that text, you must have Grade 2 Braille. This isn’t a letter-for-letter translation of English; it uses contractions to save space. Since 2016, Unified English Braille (UEB) has been the standard. The Braille must be positioned at least 3/8 of an inch (and no more than 1/2 inch) below the corresponding text. It should always be in a horizontal format.
Visual Contrast and Finish
Glare is the enemy of accessibility. Whether a sign is tactile or purely visual, it must have a non-glare finish. We also look for “high contrast.” While the ADA doesn’t mandate a specific percentage anymore, a 70% Light Reflectance Value (LRV) difference between the text and the background is the industry gold standard for readability.
Proper Placement and Mounting Heights
You could have the most beautiful, compliant sign in Texas, but if you hang it in the wrong spot, it’s useless—and potentially a liability.
The 18×18 Inch Rule
One of the most overlooked ada sign installation guidelines is the requirement for clear floor space. There must be a minimum 18 x 18 inch unobstructed floor area directly in front of the tactile characters. This space must be centered on the tactile characters and, most importantly, it must be located outside the arc of the door swing.
Why? Because you don’t want someone standing there reading a Braille sign only to get hit in the face when someone else opens the door.
Protrusion and Overhead Limits
If a sign is mounted between 27 and 80 inches above the floor, it cannot stick out more than 4 inches from the wall. This prevents the sign from becoming a “head-knocker” for someone using a cane. For signs that hang from the ceiling or project perpendicularly from the wall (like directional signs in a long hallway), the bottom edge must be at least 80 inches above the finished floor.
Standard ADA Sign Installation Guidelines for Height
The goal is consistency. When a person with a visual impairment enters a building, they should know exactly where to reach to find information.
- Tactile Baseline: The lowest line of raised characters must be at least 48 inches from the floor.
- Tactile Top: The highest line of raised characters can be no more than 60 inches from the floor.
- The “Sweet Spot”: We generally recommend mounting signs so the centerline is at 54 inches. This keeps everything within that 48-60 inch window regardless of the sign’s size.
Specific ADA Sign Installation Guidelines by Door Type
The “where” is just as important as the “how high.” Correct placement depends on the door:
- Single Doors: Mount the sign on the wall adjacent to the latch side.
- Double Doors (One Active): If only one leaf opens, mount the sign on the inactive leaf.
- Double Doors (Two Active): Mount the sign to the right of the right-hand door.
- Outward Swinging Doors: Ensure the 18×18 inch clear space is maintained outside the door’s path.
- No Wall Space: If there’s simply no room on the latch side (like in a tight corner), the sign can be placed on the nearest adjacent wall.
Tools and Professional Mounting Techniques
Installing these signs isn’t just about sticking them on the wall and hoping they stay. At Lone Star Parking Maintenance, we’ve seen what happens when “DIY” installations fail—signs falling off doors, crooked Braille, and frustrated building inspectors.
Necessary Equipment
To do the job right, you need more than a hammer. We use:
- Digital Levels: To ensure every sign is perfectly horizontal.
- Measuring Tapes: To hit those 48-60 inch height marks exactly.
- Installation Templates: These help us maintain consistent spacing from door frames (usually 2-3 inches).
- Masking Tape: For marking heights without damaging wall finishes.
Mounting Methods
The surface of your wall dictates the hardware.
- Standard Drywall: High-quality double-sided tape is often enough for light signs, but for heavier plates (which can weigh over a pound), we reinforce them with clear silicone or Lexel caulk. Lexel is often preferred over standard silicone because it has superior “grab” and durability.
- Masonry or Concrete: We use mechanical anchors to ensure the sign stays put even in high-traffic areas where people might lean against the wall.
- Glass Walls: If you have glass partitions, we use specialized structural adhesives and often apply a “backer” sign on the other side of the glass to hide the adhesive and maintain a clean look.
Frequently Asked Questions about ADA Signage
Do all building signs need to have Braille?
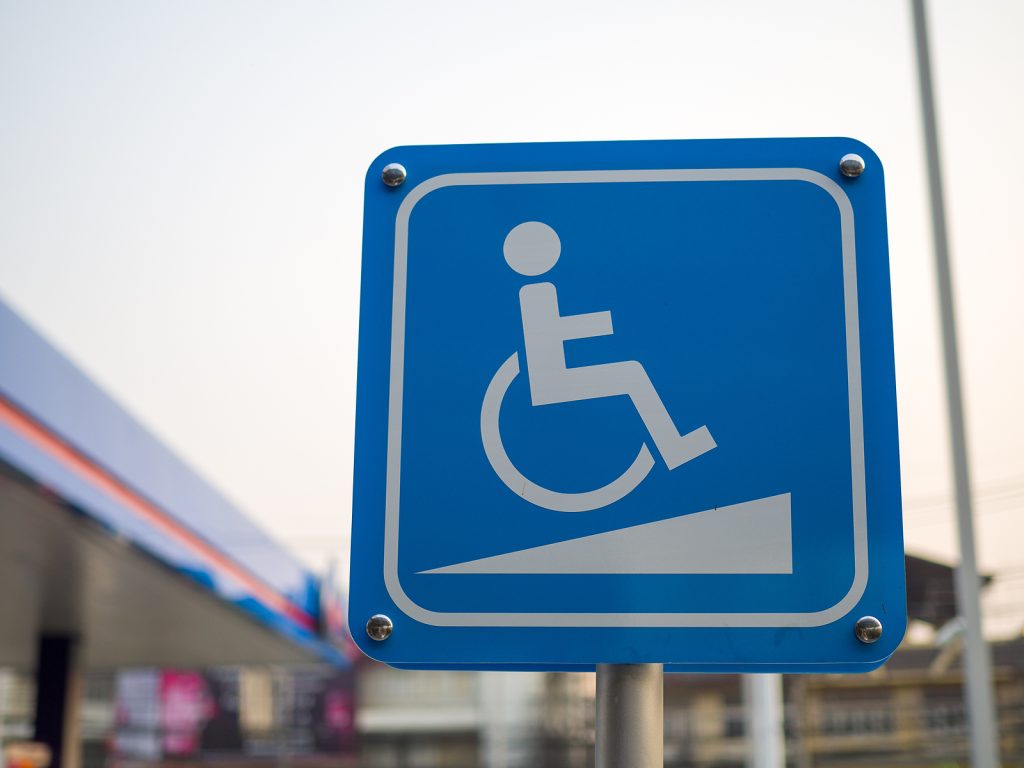
No. As we mentioned earlier, things like building addresses, parking signs (like the ones we install in DFW lots), and temporary signs don’t require Braille. However, any sign that identifies a “permanent room or space” (restrooms, exits, offices) must have Grade 2 Braille.
Can an ADA sign be mounted directly on a door?
Yes, but only under very specific conditions. The door must have an automatic closer, it must not have a “hold-open” device, and the sign must be mounted on the push side of the door. In almost every other scenario, the sign belongs on the wall, not the door itself.
What are the penalties for non-compliant signage?
The Department of Justice (DOJ) takes accessibility seriously. Federal fines can start at several thousand dollars and go up to $75,000 for a first offense. Beyond the fines, non-compliance opens your business up to private lawsuits. In the DFW Metroplex, local code inspectors will check these signs during your Certificate of Occupancy (CO) inspection. If they aren’t right, you won’t pass.
Conclusion
Navigating ada sign installation guidelines can feel like a maze of inches and fractions, but it’s a vital part of property management. Whether you’re running a retail center in Plano or an office complex in downtown Dallas, your signage tells your visitors that you value their safety and accessibility.
At Lone Star Parking Maintenance, we don’t just stop at the curb. While we are experts in parking lot striping and repairs, we understand that accessibility is a “door-to-door” responsibility. From the moment a customer pulls into a van-accessible parking space to the moment they find the restroom, every sign counts.
If you’re worried your current signage won’t pass a compliance audit, or if you’re finishing a new construction project in the DFW Metroplex, don’t leave it to chance. We use top-quality materials and adhere to the strictest industry standards to ensure your property is safe, legal, and welcoming to everyone.
For more information on making your property accessible, check out our parking lot striping services to see how we handle the exterior side of ADA compliance!