
Why Painting Over Damaged Curbs Fails
Slapping a fresh coat of high-visibility yellow or red paint directly over broken concrete might seem like a quick fix, but it almost always leads to premature failure and wasted maintenance funds. Water is the main enemy here—roughly 90% of concrete curb damage stems directly from moisture intrusion and improper surface drainage. When rain or irrigation water creeps into unsealed micro-cracks, it gets trapped right behind the surface paint layer. Under the intense DFW sun, trapped moisture turns to high-pressure vapor, expanding rapidly and causing the paint to blister, flake, and peel right off the substrate.
Over time, untreated exposed concrete undergoes severe spalling—a destructive process where the surface crumbles away as micro-cracks grow and expand. Poor initial installation practices, such as improper water-to-cement ratios or inadequate compaction, contribute to early failure in up to 40% of curbs, causing concrete to lose up to 30% of its structural strength within its very first year of exposure to traffic and weather. When you paint over these structural flaws without addressing the root cause, you aren’t fixing the problem; you’re just hiding a growing liability. Deteriorating concrete can quickly evolve into a trip hazard, and considering falls lead to over 8 million emergency room visits annually, keeping perimeter curbs structurally sound is a critical safety measure. For commercial property owners, staying ahead of structural defects is essential for long-term safety, asset protection, and risk mitigation, as detailed in The Complete Guide to Parking Lot Repairs.
Step-by-Step Guide to Curb Painting Cracked Curbs
Achieving a professional, long-lasting finish when curb painting cracked curbs requires a methodical, contractor-grade approach. Skipping straight to the paint bucket without properly preparing and repairing the underlying surface guarantees paint failure and a complete redo in just a few short months.
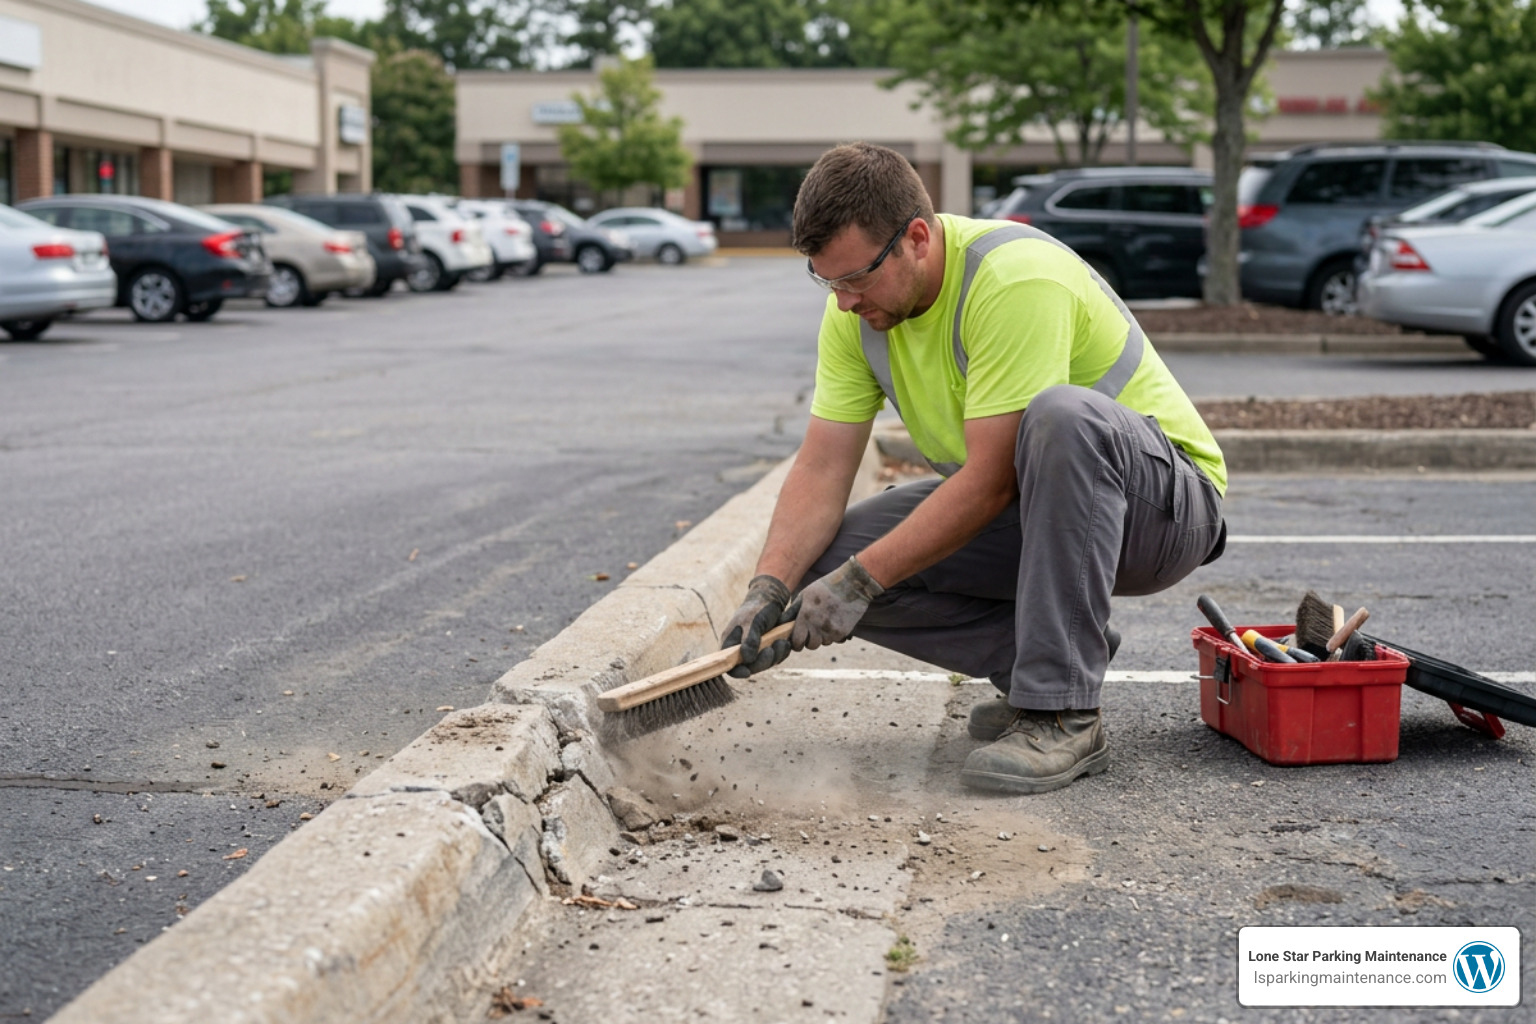
Step 1: Surface Preparation for Curb Painting Cracked Curbs
Before applying any patching mortar or high-durability paint, you must establish a clean, sound, and textured concrete surface.
- Identify Sound Concrete: Tap the concrete around all visible damage with a light hammer or rod. A sharp ringing sound indicates solid concrete, while a dull or hollow thud reveals hidden internal delamination that must be removed.
- Remove Debris & Chasing Cracks: Use a cold chisel, stiff wire brush, or an angle grinder fitted with a crack-chasing blade to excavate loose material and widen fine cracks until firm aggregate is fully exposed.
- Achieve a CSP 3 Profile: Clean out all residual dust, oil, and micro-particulates using an industrial vacuum or pressure washer to leave a Concrete Surface Profile (CSP 3)—a rough, sandpaper-like texture that provides mechanical interlock for repair mortars.
- Reach SSD Condition: Prior to applying patch materials, mist the exposed concrete with water until it reaches a Saturated Surface Dry (SSD) condition. The surface should look dark and damp without standing water, which prevents dry concrete from pulling essential hydration out of the fresh repair mix. Learn more about achieving the ideal substrate in this technical breakdown on How to Repair Broken Concrete Curb.
Step 2: Repairing Hairline Cracks and Structural Breaks
The size, depth, and severity of the crack dictate the proper repair technique and material choice. Hairline cracks (under 1/16 inch) can often be sealed with a flexible, exterior-grade masonry crack filler, but wider breaks and crushed corners demand high-strength structural patching mortar.
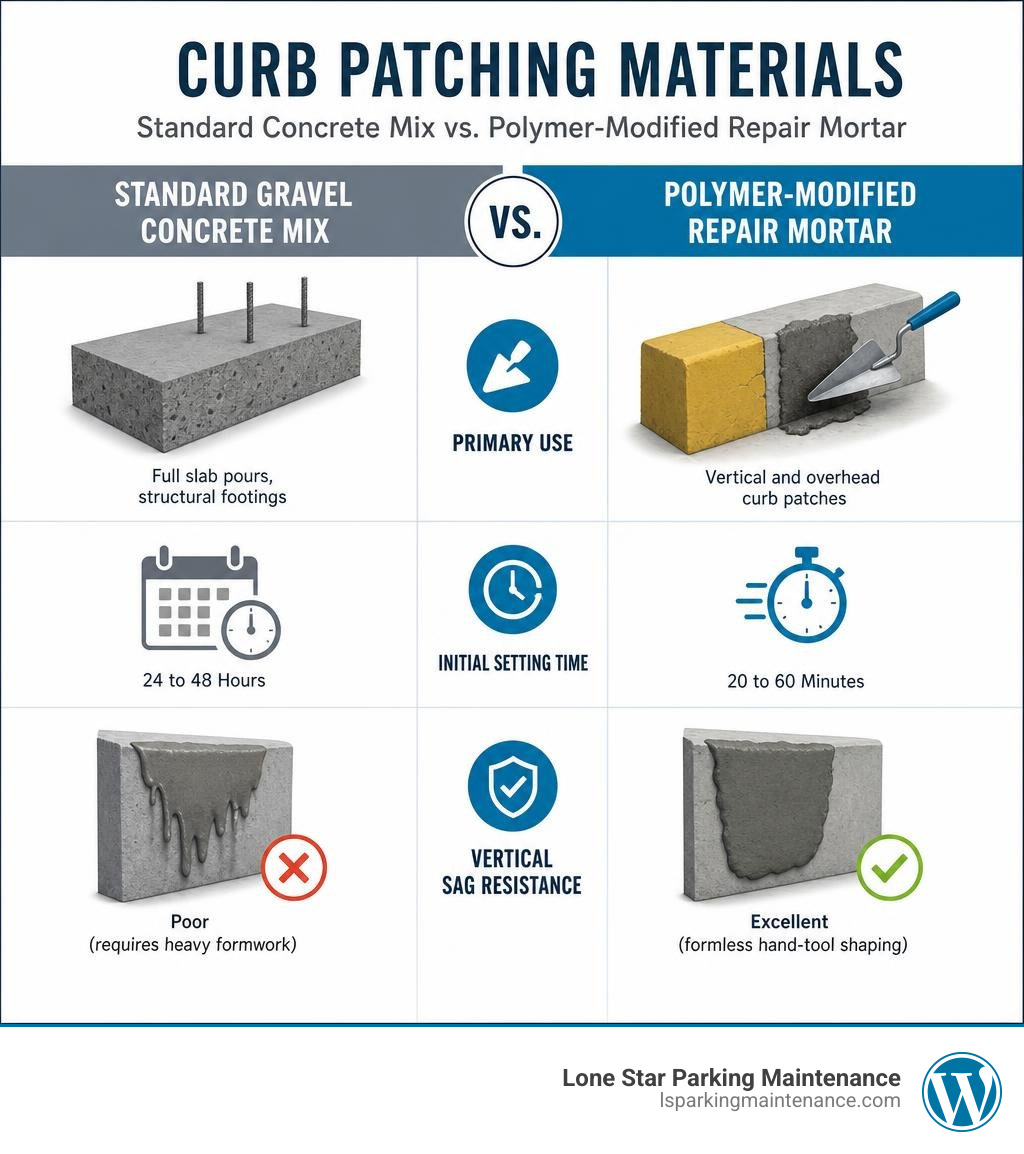
| Feature | Standard Gravel Concrete Mix | Polymer-Modified Repair Mortar |
|---|---|---|
| Primary Use | Full slab pours, structural footings | Vertical and overhead curb patches |
| Initial Setting Time | 24 to 48 Hours | 20 to 60 Minutes |
| Vertical Sag Resistance | Poor (requires heavy formwork) | Excellent (formless hand-tool shaping) |
| Traffic Readiness | 7+ Days | 24 to 48 Hours |
| Flexural & Bond Strength | Moderate | High (fortified with acrylic/SBR resins) |
For structural breaks and vertical curb restoration, apply a liquid acrylic bonding agent or slurry coat over the SSD-conditioned concrete. Pack polymer-modified mortar firmly into the void using a margin trowel in 1/2-inch to 2-inch lifts to prevent sagging under gravity. If the patch extends longer than 2 feet or faces heavy tire impacts, drill into the existing curb and insert #3 or #4 epoxy-coated rebar dowels (or masonry anchors for smaller sections) to mechanical lock the new material in place. Shape the original curb profile using a magnesium float, then lightly texture the surface with a nylon brush to match the surrounding finish. Review these contractor strategies on How to Repair Cracked Concrete Curbing for additional tips on restoring curb shapes.
Step 3: Curing and Painting Cracked Curbs
Once the concrete patch is finished, patience during the curing phase is key to preventing paint failure:
- Allow Initial Cure: Let rapid-set polymer mortars cure for at least 24 to 48 hours before applying topcoat paint. Internal moisture must escape from the patch so it won’t push against the paint film later.
- Protect the Surface: Keep the fresh repair shaded and protected from direct sunlight, extreme heat, or heavy rainfall during its initial set.
- Apply Traffic Paint: Once fully cured, coat the curb with a high-durability, UV-resistant waterborne acrylic traffic paint. Proper prep ensures the coating locks firmly into the concrete pores, keeping yellow, red, or blue safety markings crisp and vibrant for years. Discover additional guidance on top coatings in our article on the Best Paint for Curbs and How to Choose the Right One.
Selecting the Best Paint for Repaired Concrete Curbs
Not all exterior paints can handle regular vehicular tire scuffing, motor oil drippings, high surface alkalinity, and fierce solar exposure. Standard residential latex paint breaks down quickly when applied to commercial concrete curbs, leading to rapid chalking and flaking.
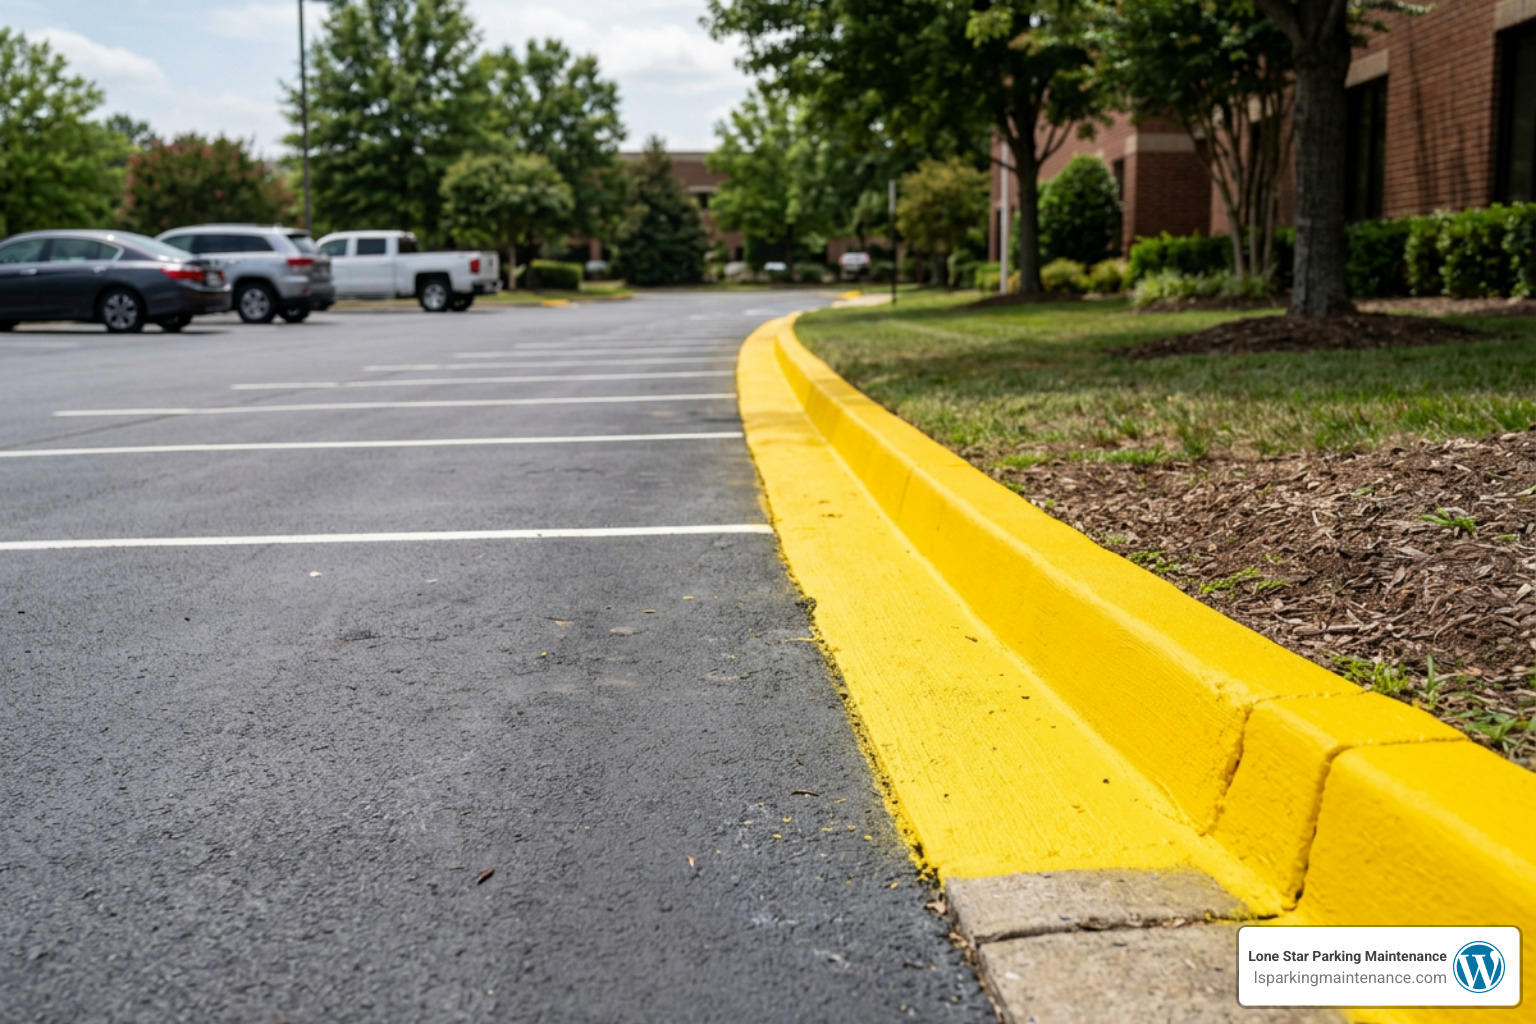
When selecting high-performance coatings for curb painting cracked curbs, professional-grade 100% acrylic waterborne traffic marking paint is the industry standard. It dries exceptionally fast (often within 15 to 30 minutes), offers high flexibility to withstand thermal expansion without cracking, and bonds tightly to porous concrete substrates. For busy commercial parking lots and emergency vehicle lanes, broadcasting reflective glass beads directly into the wet topcoat adds crucial reflectivity for nighttime visibility and driver safety under vehicle headlights.
Using standardized municipal color codes keeps your commercial facility compliant, organized, and easy for motorists to navigate:
- Yellow: Indicates no parking, loading zones, pedestrian walkways, and general traffic hazards.
- Red: Designates dedicated fire lanes and emergency vehicle access routes that must remain clear at all times.
- Blue: Marks accessible ADA parking zones, van spaces, and curb access ramps.
For more details on professional painting applications, check out All About Curb Painting Services.
Preventative Maintenance to Keep Curb Paint Intact
Once you’ve taken the necessary time to properly repair and repaint your commercial curbs, simple routine preventative maintenance helps protect your physical investment and extend the lifespan of your parking lot coatings:
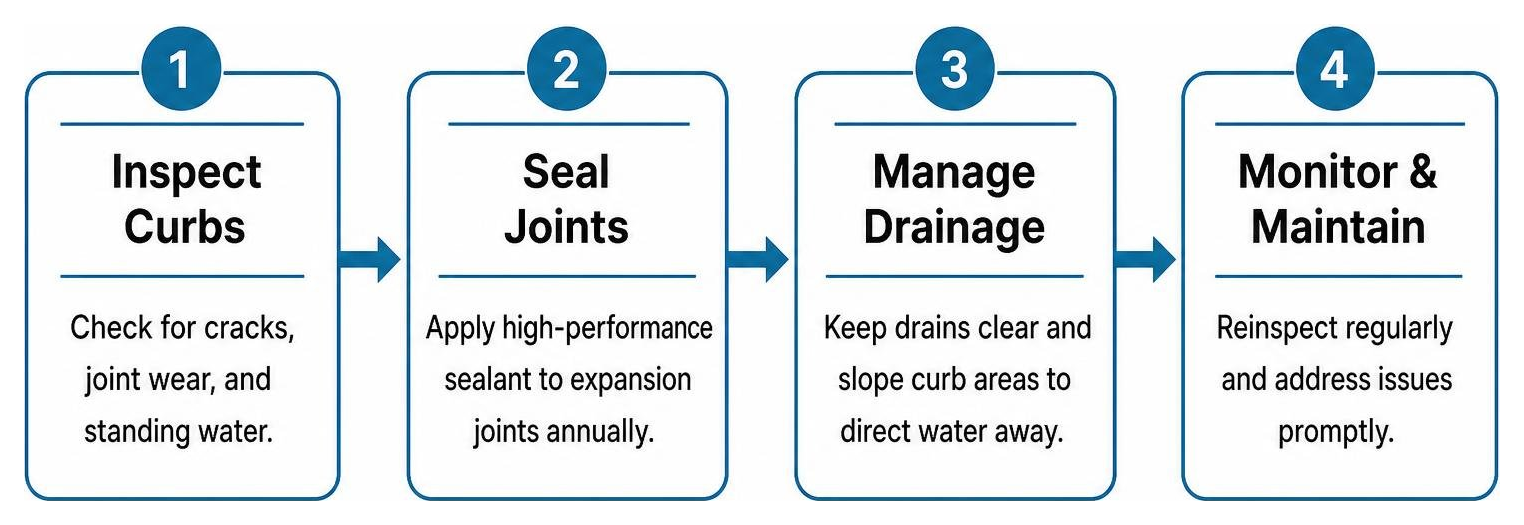
- Seal Joints Annually: Apply high-performance polyurethane or elastomeric joint sealant along all curb-to-asphalt expansion joints to keep subsurface water from seeping beneath the concrete slab and weakening the subgrade.
- Control Landscaping & Roots: Monitor adjacent trees and large shrubs to prevent aggressive roots from pushing against or lifting concrete curbs. If a root lifts a curb section, carefully sever and remove the root using a reciprocating saw before resetting or repouring the concrete.
- Manage Water & Efflorescence: Ensure catch basins, storm drains, and lot gutters drain properly to prevent standing water accumulation around curbs. If a white powdery residue (efflorescence) appears on your painted curb from heavy irrigation runoff, scrub it away using a mild 50/50 mixture of white vinegar and water before it damages the paint layer.
- Incorporate Maintenance into Property Care: Combine curb repainting with standard parking lot upkeep, line striping, and surface cleaning to extend the overall lifespan of your pavement, as covered in our guide on Concrete and Asphalt Maintenance: Keeping Your Lot Safe.
Frequently Asked Questions About Curb Repair and Painting
How long should a concrete patch cure before painting?
Rapid-set polymer-modified repair mortars typically require 24 to 48 hours of curing time before accepting paint coatings. Traditional concrete mixes need at least 7 to 28 days to off-gas moisture completely before paint can be applied safely without risking adhesion failure.
Can you paint directly over a cracked concrete curb?
No. Painting directly over active cracks or delaminating concrete traps moisture inside the substrate, accelerating concrete breakdown and causing the new paint to blister and peel off within weeks.
How do you prevent curb paint from cracking in direct sunlight?
Use UV-resistant, 100% acrylic waterborne traffic marking paint designed for exterior concrete. Thoroughly clean the substrate to remove dust, ensure the concrete patch is fully cured, and avoid applying paint during the hottest hours of the day.
Conclusion
Mastering curb painting cracked curbs comes down to doing the prep work right: fix the structural damage, let the patch cure fully, and apply high-quality traffic paint. Investing in sound curb maintenance does more than prevent peeling paint—well-maintained curbs and strong overall curb appeal can boost commercial property values by up to 15% while protecting visitors from trip hazards.
At Lone Star Parking Maintenance, we handle complete parking lot repairs, striping, power washing, and curb maintenance across the DFW Metroplex. Whether you need to fix crumbling concrete fire lanes or refresh faded safety markings, we bring top-quality materials and field-tested standards to every job. Explore our Protective Pole Covers and Curb Stop Installation services to protect your facility, or contact our team today to schedule an on-site evaluation for your commercial property!