
Choosing an Asphalt Patch in Combine
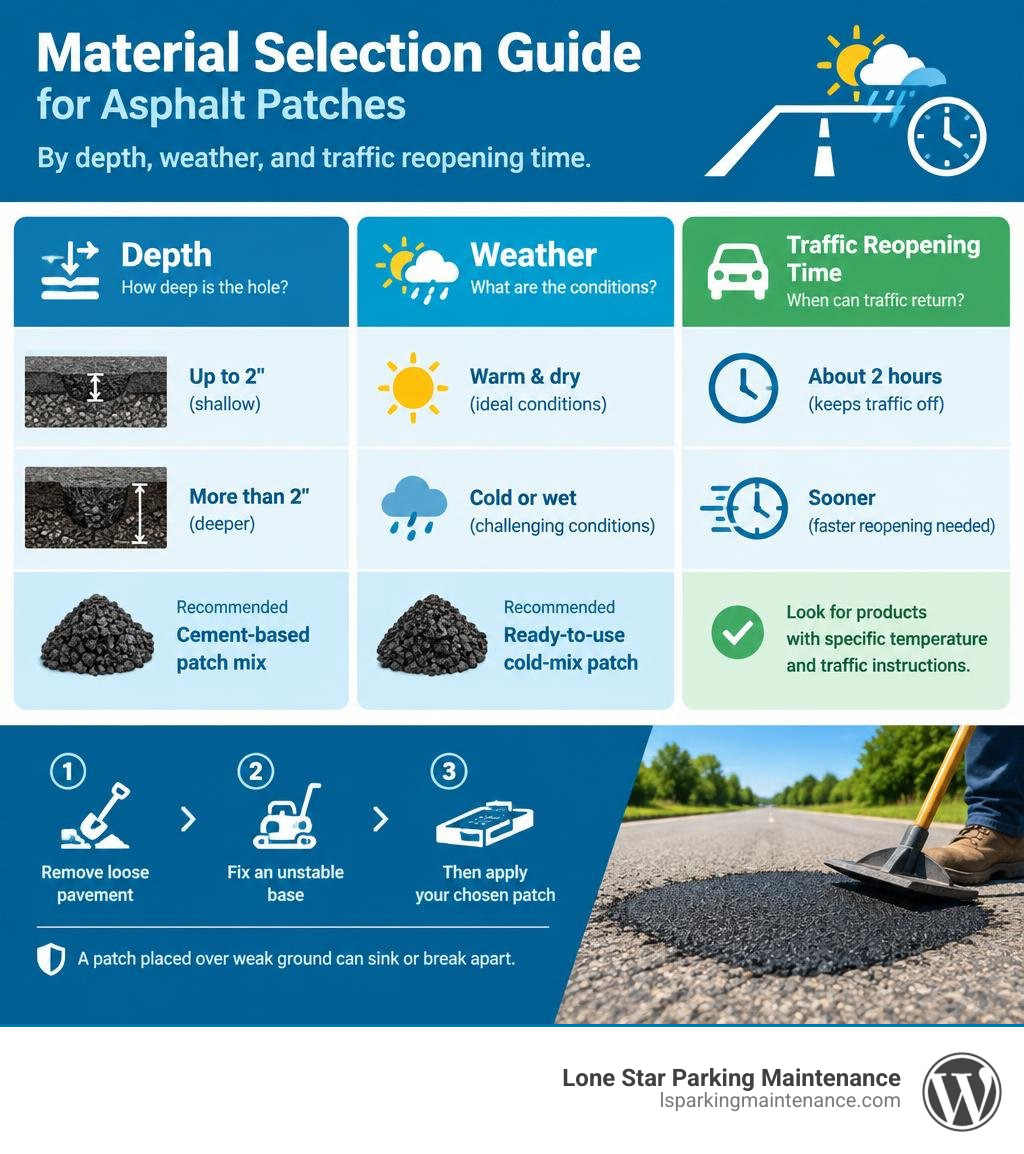
For an asphalt patch in Combine, buy based on the hole’s depth, the weather, and how soon traffic must return. A fast-setting cement-based mix can suit a repair at least 2 inches deep when you can keep traffic off for about 2 hours. A ready-to-use cold-mix patch is easier to place; some products are made for cold or wet conditions. Check the bag’s temperature and traffic instructions before buying.
Whichever material you choose, remove loose pavement and fix an unstable base first. A patch placed over weak ground can sink or break apart.
I’m Cason, and I’ll walk you through the steps that help a repair last.
Asphalt patch Combine glossary:
Choosing the Right Asphalt Patch in Combine: Cement-Based vs. Cold-Mix Formulations
Selecting the right repair material means understanding how different binders interact with North Texas weather and traffic demands. When you walk down the building supply aisle, you will primarily encounter two distinct product categories: cement-based polymer mixes and traditional bituminous cold-patch products.
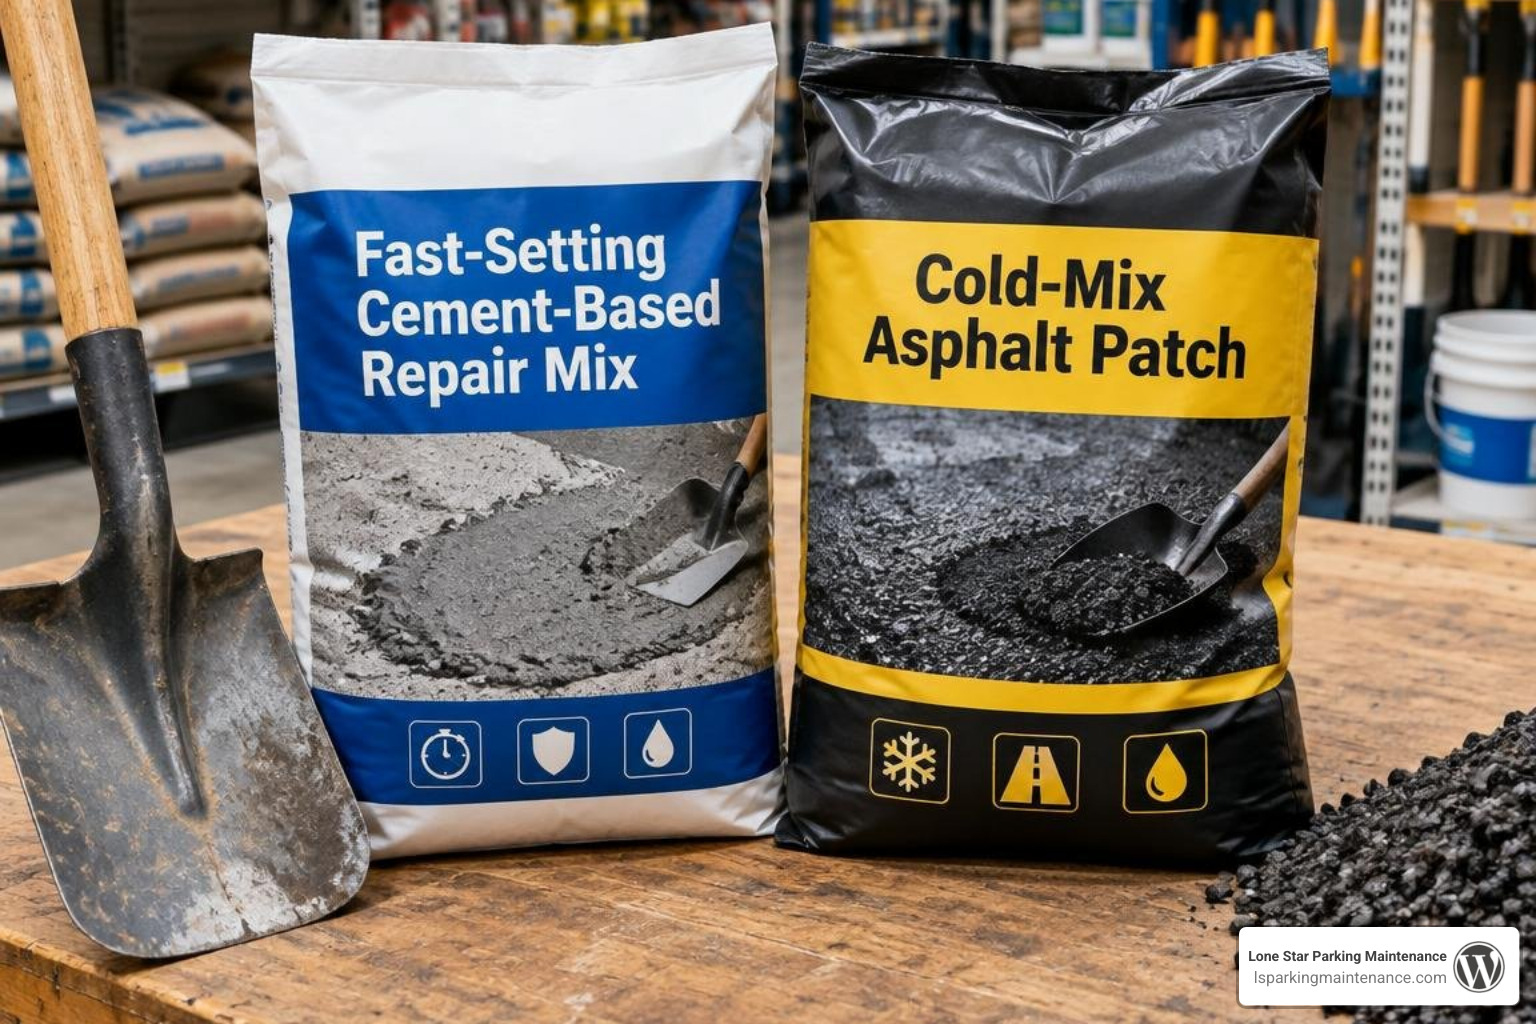
Bitumen-based cold patches use liquid asphalt cutbacks or emulsions combined with graded mineral aggregates. These stay pliable in the bag and harden as volatile compounds evaporate and mechanical compaction locks the aggregate together. In contrast, fast-setting cement-based repair mixes rely on hydraulic binders and specialty polymers. Once mixed with clean water, they cure via hydration rather than simple air-drying.
Knowing how to patch pavement like a pro starts with matching these material mechanics to your project goals.
| Feature / Metric | Fast-Setting Cement-Based Repair Mix | Traditional Commercial Cold-Mix Asphalt | High-Performance Polymer Cold Patch |
|---|---|---|---|
| Primary Binder | Hydraulic cement with polymer modifiers | Bitumen / cutback asphalt emulsion | Polymer-modified asphalt binder |
| Mixing Required | Yes (clean potable water) | No (ready-to-use from bag) | No (ready-to-use from bag) |
| Working Time | ~15 minutes | Extended / continuous | Extended / continuous |
| Drive-On / Cure Time | 2 hours for full drive-on strength | 24 hours for light traffic; days for heavy | Immediate to 24 hours (depending on compaction) |
| Application Depth | 2 inches to 24 inches | 1 inch to 2 inches (in compacted lifts) | 1 inch to 2 inches (in compacted lifts) |
| Application Temp Range | 45°F to 90°F | Season-specific (Winter ≤40°F, Summer ≥80°F) | -15°F to 105°F |
| Compaction Method | Consolidation / screed (no heavy tamping) | Heavy mechanical or hand tamping required | Wheel-rolling or plate compaction |
| Sealcoating Window | Next day (24 hours) | 30 days to 12 months | 30 days to 6 months |
Cement-Based vs. Cold Mix Asphalt Patch in Combine
When evaluating curing timelines and load handling, cementitious products and cold asphalt mixes follow completely different paths.
Cement-based mixes like Rapid Set Asphalt Repair Mix feature a short working time of roughly 15 minutes. Once poured and consolidated, the hydraulic chemical reaction locks in drive-on strength in just 2 hours. This rigid structure does not rely on vehicle weight to gain density, making it ideal for deep potholes where you cannot afford long driveway closures.
Standard cold patches, on the other hand, are celebrated for convenience. They require no water, no mixing tools, and no chemical timers ticking down while you work. However, they rely heavily on mechanical compaction to gain strength and generally need at least 24 hours before supporting regular turning traffic. For property owners seeking the cheapest ways to patch asphalt for quick repairs, bagged cold patch offers unmatched simplicity, provided you give the binder ample time to cure before subjecting it to power-steering stress.
Temperature Thresholds and Environmental Impact
Temperature determines whether an asphalt patch bonds cleanly or fails within weeks.
- Cement-based mixes: Perform best in ambient temperatures between 45°F and 90°F (7°C to 32°C). In colder weather within this range, using warm mixing water accelerates hydration, while chilled water extends working time on hot summer afternoons. Never apply cementitious mixes to frozen ground.
- Cold-mix asphalt: Modern cold patches (such as UPM or QPR formulations) are engineered for specific seasonal bands or extreme conditions. Specialized winter formulas remain workable at temperatures below 40°F, with some high-performance mixes functioning down to -15°F or up to 105°F.
From an environmental perspective, cement-based repair mixes often release significantly lower carbon dioxide during production than traditional Portland cement products while emitting zero volatile organic compounds (VOCs). Modern high-grade cold patches have also eliminated harmful solvents, meeting strict environmental runoff standards that prevent toxic leaching into surrounding soil. To see how transportation departments handle municipal patching, review the official DOT patching and edge repair guidelines.
Step-by-Step Guide to Driveway and Pothole Repair
Achieving a durable patch requires proper structural preparation. Simply dumping material into a crumbling depression leads to quick failure. If you manage larger paved surfaces or commercial areas, following established standards for commercial asphalt parking lot repair ensures your work withstands heavy daily vehicle turnover.
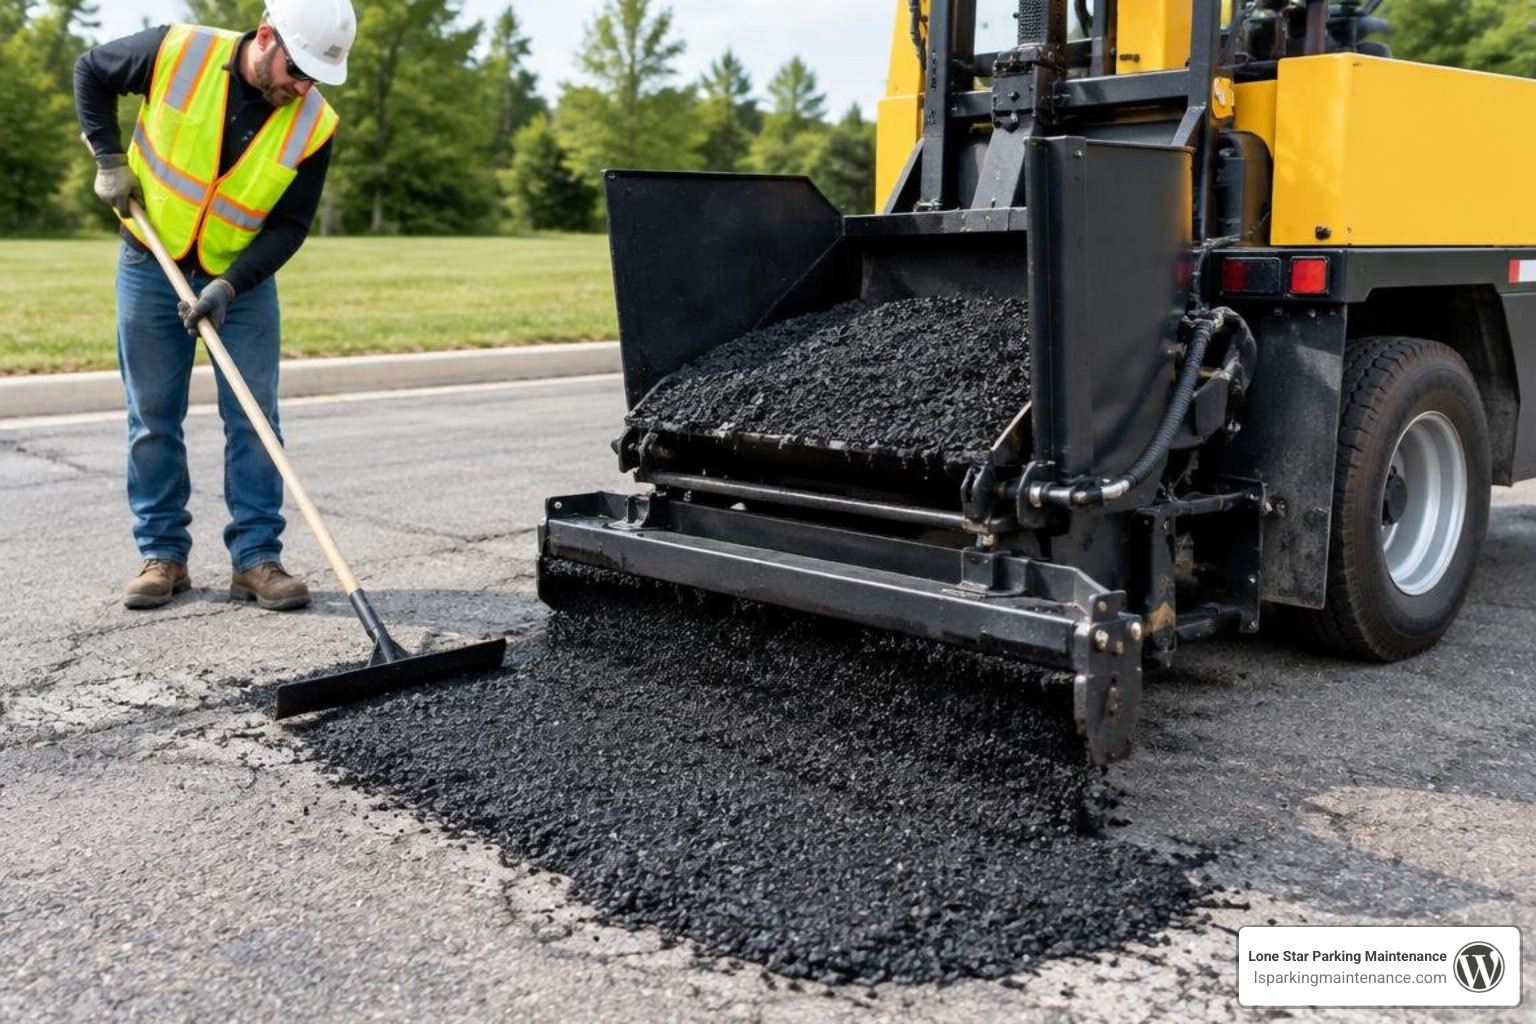
Step-by-Step Installation for an Asphalt Patch in Combine
Whether tackling a residential driveway or an access lane, follow these field-tested steps:
- Mark and Cut the Perimeter: Mark a rectangular boundary at least 6 to 12 inches beyond the damaged pavement. Use a circular saw with a diamond masonry blade to make clean, vertical cuts through the asphalt layer. Vertical edges provide structural shoulders that keep the patch from raveling outward under traffic weight.
- Excavate and Clean: Remove all broken asphalt down to the solid base. For deeper voids, inspect the underlying aggregate base. Clear away loose gravel, dust, and organic debris using a stiff-bristle wire broom, compressed air, or a pressure washer.
- Subgrade Stabilization: If the pothole exceeds 2 inches in depth, install crushed stone or aggregate base in 2-inch lifts, compacting each layer firmly until you establish a solid subgrade 2 inches below the surface.
- Mix or Prepare Material:
- For cement-based mix: Blend approximately 2.75 to 3.25 quarts of clean potable water per 50-pound bag using a drill paddle mixer for 1 to 3 minutes until smooth. Pre-wet the repair cavity to a saturated surface-dry (SSD) state so the dry asphalt does not suck water out of the repair mix.
- For cold-mix patch: No mixing is necessary. Ensure the void is clean. For standard cold mixes, applying an asphalt emulsion tack coat to the vertical edges improves adhesion, though specialized polymer cold patches can bond directly to clean edges without a tack coat.
- Place and Consolidate:
- Cement-based mix: Pour into the void, consolidating into corners with a trowel or screed. One 50-lb bag yields approximately 0.43 cubic feet of material. Work quickly to finish the surface flush with the surrounding pavement before the 15-minute working window closes.
- Cold-mix patch: Shovel the material in 1- to 2-inch lifts. Overfill the final layer by approximately 0.5 inches (20% to 25% of the total depth) above the surrounding pavement grade to allow for compaction settlement.
- Compaction:
- For cement mixes, do not use heavy tamping tampers; simply screed and float smooth.
- For cold mixes, compact each lift thoroughly using a hand tamper, vibrating plate compactor, or by carefully driving a vehicle wheel across the patch across multiple overlapping passes.
For deeper technical context on paving standards, consult standard hot-mix asphalt specification standards.
Repair Thickness Guidelines and When to Resurface
Every patching material has strict geometric limits:
- Cement-based asphalt repair mix: Designed for structural applications from 2 inches to 24 inches thick. It should never be feathered down to a knife-edge (such as 1/4 inch), as thin edges will crack and spall.
- Cold-mix asphalt patch: Best placed in compacted lifts between 1 inch and 2 inches. For depressions deeper than 2 inches, build a structural foundation using compacted crushed aggregate before placing your surface cold mix.
When you notice widespread webbed cracking (alligator cracking), widespread depression, or crumbling across more than 25% to 30% of your total driveway area, localized patching is no longer cost-effective. At that stage, subbase fatigue has occurred, and you should review the ultimate guide to resurfacing asphalt parking lots to plan a full asphalt overlay or structural mill-and-fill instead.
Preventing Premature Patch Failure and Protecting Your Repair
A patch fails when water breaches the interface between the old pavement and the new repair material. Following proper installation methods prevents the most common field failures:
- Material Picking Out (Raveling): This occurs when cold mix is placed without sufficient compaction or when cold temperatures prevent the binder from coating the stone properly. Always compact cold patches in thin lifts and consider dusting high-traffic pedestrian zones with dry Portland cement or limestone dust to reduce surface tackiness during the initial cure.
- Depression and Sinking: Usually caused by failing to compact the subgrade or not overfilling cold patches prior to compaction. The aggregate settles under traffic, creating a low spot that collects water.
- Edge Separation and Water Intrusion: Because old and new asphalt expand and contract at different rates, hairline cracks naturally open along the patch perimeter. Sealing these joints is critical. Apply a hot-pour or commercial-grade cold-pour rubberized crack sealant along the entire boundary joint to lock out rainfall. Following established asphalt patching and sealing best practices preserves the structural integrity of your repair for years.
Safety Considerations and Personal Protective Equipment
Working with pavement repair materials requires sensible jobsite safety precautions:
- Respiratory Protection: When dry-mixing cement-based products or cutting old asphalt with a saw, hazardous respirable crystalline silica dust is released. Always wear a NIOSH-approved N95 or P100 respirator.
- Skin and Eye Protection: Hydraulic cement compounds are alkaline and can cause severe chemical burns when mixed with moisture or sweat. Wear heavy-duty chemical-resistant gloves, safety goggles, long sleeves, and durable work boots. If wet mix contacts your skin, flush immediately with clean water.
- Traffic Control: If working near driveway entrances or shared roadways, set up high-visibility safety cones and barricades to keep vehicles and pedestrians away from the work zone during mixing, placement, and curing.
Frequently Asked Questions About Asphalt Patching
How long does an asphalt patch need to cure before sealcoating?
The required wait time depends directly on the binder material used:
- Cement-based repair mixes: Can be sealcoated as soon as 24 hours after placement because the hydration reaction stabilizes rapidly and contains no volatile oils.
- Cold-mix asphalt patches: Require anywhere from 30 days to 6 months (and occasionally up to a full year for deep repairs) before sealcoating. Cold patch binders cure by slowly evaporating oils. Applying a sealcoat prematurely traps these oils, leaving the patch soft, spongy, and prone to rutting under vehicle tires.
Can cold-mix asphalt patch be applied in wet potholes?
Yes, high-performance cold patch formulations (such as QPR or Granitepatch) are specifically engineered with anti-stripping additives that allow the bitumen binder to displace water and adhere directly to wet aggregate and saturated asphalt walls. While it is always best practice to sweep out standing puddle water and loose muck, premium cold patches can be placed directly into damp voids during emergency weather conditions.
Why is my newly patched asphalt sinking or raveling?
Patch settlement or surface raveling typically points to three root causes:
- Insufficient compaction: The material was placed in a single thick lift rather than thin, densely compacted 1- to 2-inch layers.
- Unstable subgrade: The soft, moisture-damaged dirt or broken base at the bottom of the pothole was not excavated and replaced with compacted crushed stone.
- Power steering stress: Vehicles turned their wheels sharply over a fresh cold-mix patch before the binder had fully cured, tearing the unbonded aggregate stones loose.
Conclusion
Restoring damaged pavement does not have to be an endless cycle of temporary fixes. By diagnosing the depth of the damage, choosing between fast-setting cementitious mixes and high-performance cold patches, and preparing clean vertical edges, you can achieve a repair that holds up against North Texas summer heat and winter freezes.
At Lone Star Parking Maintenance, we help property managers, business owners, and communities across the DFW Metroplex keep their parking facilities and driveways structurally sound, safe, and visually appealing through commercial-grade repairs, sealcoating, striping, and routine maintenance. When you are ready to evaluate product options for your property, explore our breakdown of top-rated asphalt patches to fix your driveway fast to keep your pavement smooth and protected.