
Essential Tools, Placement Standards, and Material Selection
A smooth parking wheel stops installation project starts with selecting the proper hardware and understanding placement geometry. Using incorrect anchoring hardware or miscalculating setback distances can convert a simple maintenance task into a severe trip hazard or structural liability.
When preparing your property layout, setback distances must accommodate the front overhang of standard passenger cars, light trucks, and SUVs. Placing a stop too close to a sidewalk causes vehicle bumpers to intrude into pedestrian walkways, restricting access for wheelchairs, strollers, and foot traffic.
| Feature / Metric | Concrete Wheel Stops | Rubber Wheel Stops | Plastic Wheel Stops |
|---|---|---|---|
| Average Weight | 200 – 300 lbs | 50 – 100 lbs | 10 – 15 lbs |
| Typical Lifespan | 20 – 30+ Years | 5 – 10 Years | 15 – 20 Years |
| Compressive Rating | 3,500 – 5,500 PSI | Flexible / Recycled Rubber | High-Density Polymer |
| Best Substrate | Asphalt & Surface Concrete | Asphalt & Concrete Garages | Asphalt, Concrete, & Bitumen |
| Installation Hardware | 10–14″ Rebar Pins / Epoxy | Lag Bolts / 14″ Rebar Spikes | Concrete Screwbolts / Coach Bolts |
| Equipment Needed | Forklift / 2-Person Crew | Single Technician Setup | Single Technician Setup |
| Average Installed Cost | $65 – $125 per stop | $85 – $150 per stop | $90 – $160 per stop |
Understanding local compliance requirements is essential before drilling into your pavement. For an in-depth dive into spacing guidelines, review our guide on Stop Right There: A Guide to Safe Wheel Stop Placement.
Planning Setback and Spacing for Parking Wheel Stops Installation
Determining setback distance depends on parking stall orientation, expected vehicle size, and nearby structures. The general rule for standard passenger vehicles is setting the front face of the wheel stop 2 to 3 feet (24 to 36 inches) back from a curb, wall, or building face.

- Front-In Parking Stalls: Position stops 24 to 36 inches from walls or curbs. This accounts for front bumper overhangs, which average 2 to 3 feet from the front tire.
- Rear-In Parking Stalls: Increase setback distance to 3 to 4 feet (36 to 48 inches) to protect perimeter fences and masonry walls from wider rear overhangs, spare tires, or trailer hitches.
- Sidewalk and Pedestrian Overhang: When installed adjacent to a sidewalk, maintain at least 36 inches of clear, unobstructed walkway width past the vehicle’s bumper to remain compliant with accessibility guidelines.
- Commercial Truck Spaces: Heavy-duty commercial spaces accommodating semi-trucks require specialized 8-foot-long, 12-inch-high truck blocks set back 30 to 36 inches to stop massive axle loads effectively.
Proper placement prevents costly property damage. For additional operational insights, explore Wheel Stoppers 101: Keep Your Vehicles Safely in Place.
Selecting Equipment and Materials for Concrete vs. Rubber Stops
Selecting between precast concrete and recycled rubber wheel stops comes down to traffic volume, structural weight, and budget.
Precast Concrete Wheel Stops: Made from high-strength 3,500 to 5,500 PSI concrete reinforced with steel rebar, concrete blocks weigh between 200 and 300 pounds. They are ideal for high-traffic, permanent commercial parking lots across the DFW Metroplex. Due to their mass, positioning requires multiple workers or lifting equipment.
Recycled Rubber Wheel Stops: Weighing 50 to 100 pounds, rubber stops can easily be handled by a single technician. They contour slightly to uneven pavement, resist chipping, and come pre-molded with bright yellow reflective tape for high visibility. Rubber stops are particularly useful in multi-level parking garages where weight limits apply and surface penetration is restricted.
To review the full spectrum of options, see our detailed Precast Concrete Wheel Stoppers: Stop Cars in Their Tracks guide and our Ultimate Checklist for Buying Parking Wheel Stops.
Step-by-Step Parking Wheel Stops Installation Guide for Asphalt and Concrete
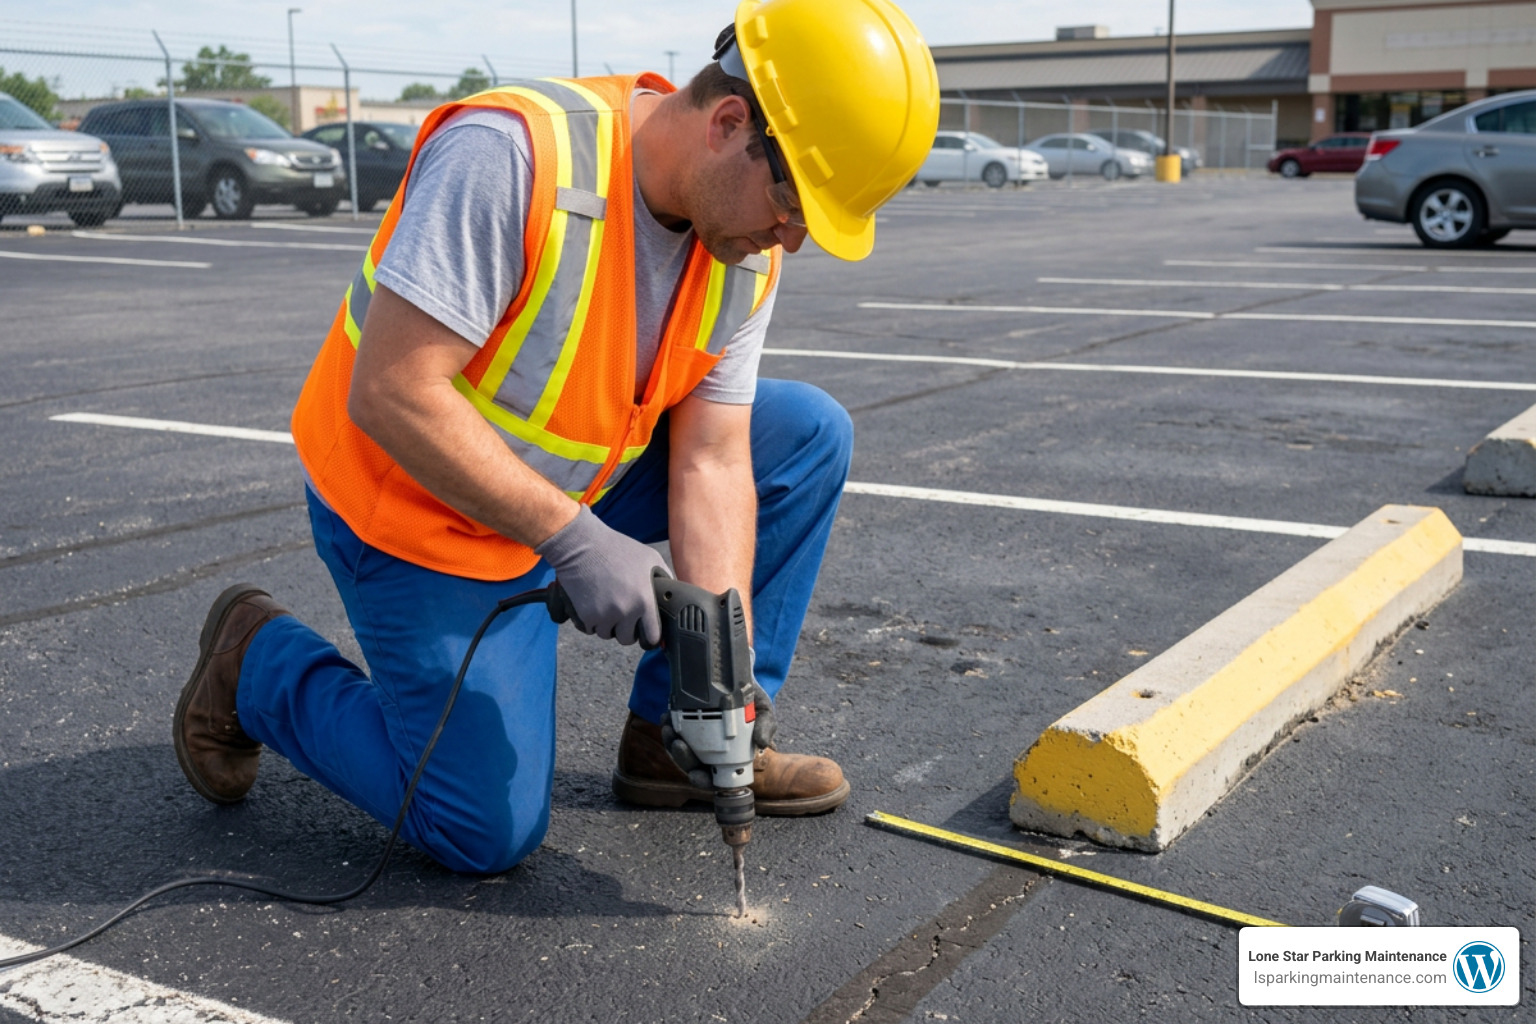
Proper parking wheel stops installation requires accurate alignment, precise drilling, and surface-appropriate hardware. Follow this structured process to ensure your wheel stops remain anchored for years:
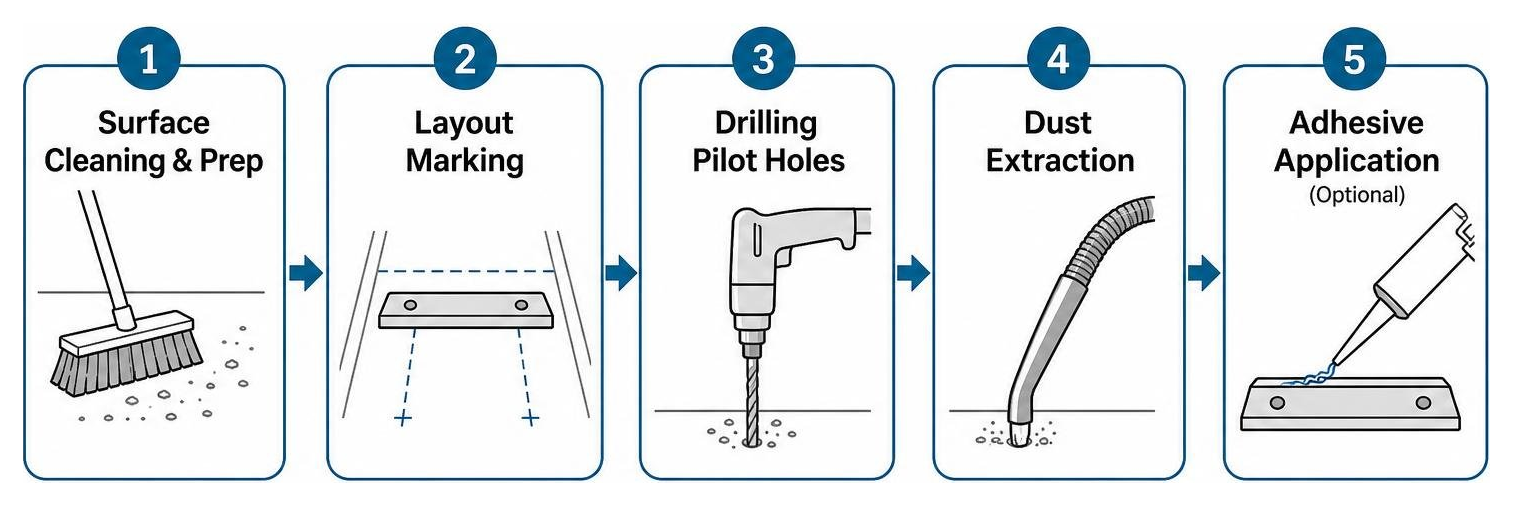
- Surface Cleaning and Prep: Sweep away gravel, dirt, oil, and moisture from the target area. A clean surface ensures flush contact and maximum epoxy adhesion if using combination methods.
- Layout Marking: Snap a high-visibility chalk line across the row of parking stalls to establish a uniform setback line (e.g., 28 inches from the curb). Position each block, verify it is centered within the stall lines, and mark anchor hole locations directly onto the pavement.
- Drilling Pilot Holes: Set the stop aside or drill directly through pre-molded fixing holes using a rotary hammer drill. For asphalt, drill 1/2-inch to 3/4-inch pilot holes 8 to 12 inches deep to accommodate steel rebar pins. For concrete, drill pilot holes matching your expansion anchor or screw bolt specifications (e.g., 3/4-inch holes to 4–4.5 inches deep for lag anchors).
- Dust Extraction: Vacuum or blow out all concrete dust and crushed aggregate from the holes. Compressed air or hole brushes prevent bound dust from blocking hardware insertion.
- Adhesive Application (Optional Combination Method): On asphalt, apply a continuous bead of high-strength commercial construction adhesive or epoxy along the underside base of the stop before driving anchors.
- Setting and Driving Anchors: Reposition the wheel stop over the drilled holes. Drive rebar pins flush with a sledgehammer, or secure concrete lag bolts using an impact wrench until snug.
- Final Alignment & Inspection: Check that the top of each pin or bolt sits flush or slightly recessed beneath the surface of the stop to prevent tire damage and pedestrian trips.
For more technical reference sheets, consult the manufacturer’s Installation Instruction Guide . You can also follow our summary guide on How to Install Wheel Stops in 5 Simple Steps.
Anchoring Methods: Rebar Pins, Lag Bolts, Spikes, and Epoxy
Choosing the correct hardware depends entirely on your ground substrate:
- Rebar Pins (Best for Asphalt): Steel rebar pins (typically 1/2-inch diameter by 10 to 14 inches long) are driven through pilot holes deep into the asphalt and underlying sub-base. Asphalt shifts during intense summer heat; deep rebar pins lock into the base course to hold the stop firmly in place.
- Lag Bolts & Expansion Shields (Best for Concrete Surface Lots): Concrete requires mechanical expansion anchors or heavy-duty lag bolts (1/2-inch by 8-inch) driven into lead shields. As the bolt tightens, the shield expands against the concrete wall, forming a strong grip.
- Wedge Bolts and Concrete Screw Bolts: High-tensile screw bolts bite directly into pre-drilled concrete holes, delivering high shear resistance without expanding, making them ideal near slab edges.
- Chemical Anchor Epoxy (Post-Tensioned Slabs & Garages): In multi-story parking structures with post-tensioned cable tendons, core drilling into the slab risks severe structural failure. In these environments, surface-mounted stops glued down with high-shear epoxy adhesives provide high holding strength without penetration.
For additional hardware technical standards, review industry guidelines at Wheel Stop Installation and Compliance | Bowman Line Striping Inc-Expert Parking Lot Striping And Seal Coating and Installation Instructions for Wheel Stops — Car Parks and Roads .
Installing Heavy Concrete vs. Lightweight Rubber Stops
Handling characteristics differ significantly between precast concrete units and modular rubber stops:
- Heavy Concrete Placement: Weighing 200 to 300 pounds, 6-foot concrete blocks require a two-person installation team or a forklift/tractor attachment for offloading and staging. Staging blocks immediately adjacent to their target stall reduces manual lifting. Keep drill bits strictly vertical when drilling through concrete block holes to prevent chipping the outer concrete shell.
- Lightweight Rubber & Plastic Placement: Rubber units weigh between 50 and 100 pounds, while recycled plastic stops weigh only 10 to 15 pounds. A single worker can position and anchor these units rapidly. On wide parking bays using multi-section rubber stops, always set and anchor the end sections first before aligning middle segments along a chalk line.
Refer to product specification datasheets such as Concrete Wheel Stop (Parking Blocks) – SWS and Parking Lot Wheel Stop Installations for exact weight load ratings.
Compliance Standards, Cost Analysis, and Common Mistakes
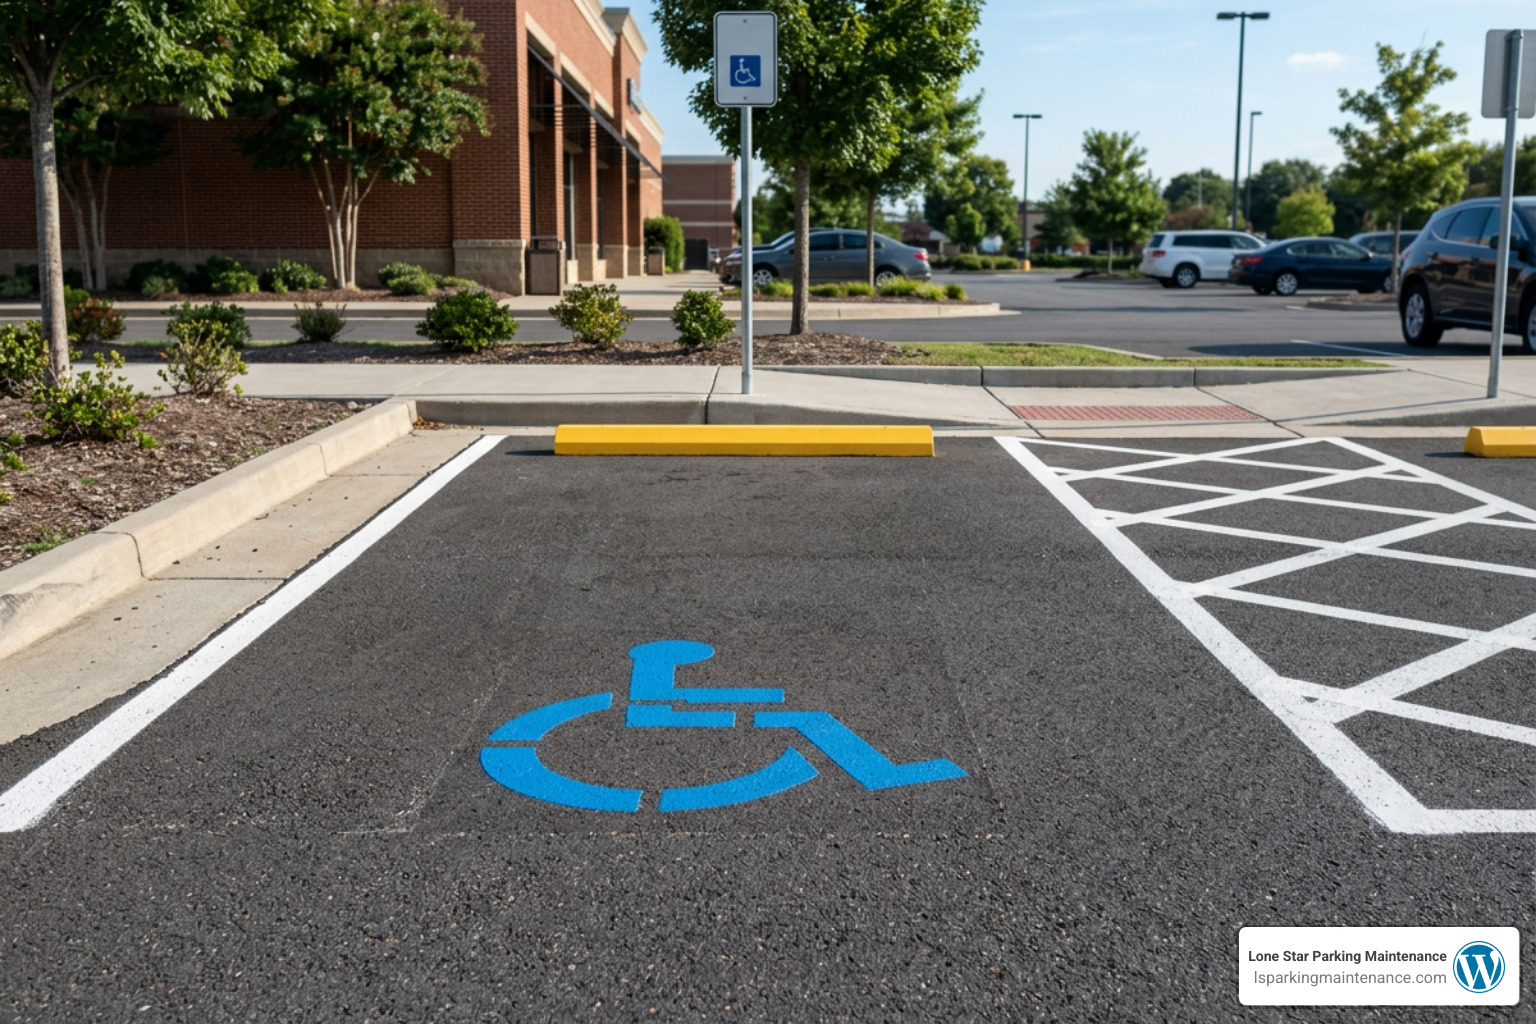
Ensuring long-term safety requires adhering to state, federal, and international standards, including local accessibility guidelines and international codes like Australian Standard AS/NZS 2890.1:2004 (which mandates wheel stop heights between 90–100mm).
In the United States, wheel stop installations must strictly align with Americans with Disabilities Act (ADA) requirements and applicable state codes (such as California Building Code Section 11B-502.7.2).
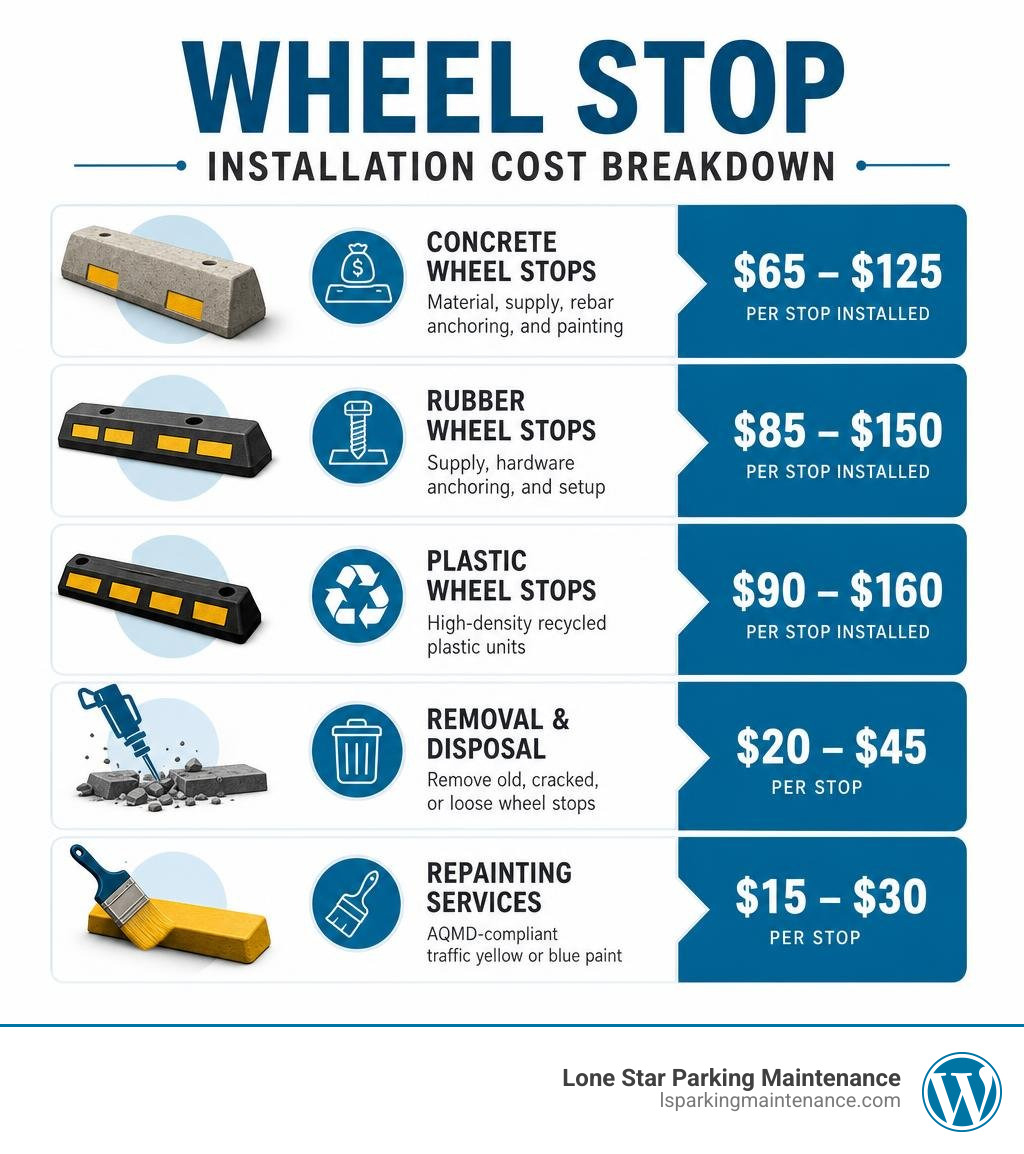
- Concrete Wheel Stops: Material, supply, rebar anchoring, and reflective painting typically average $65 to $125 per stop installed.
- Rubber Wheel Stops: Supply, hardware anchoring, and setup range between $85 to $150 per stop installed.
- Plastic Wheel Stops: High-density recycled plastic units cost between $90 to $160 per stop installed.
- Removal & Disposal: Removing old, cracked, or loose wheel stops runs $20 to $45 per stop.
- Repainting Services: Applying AQMD-compliant traffic yellow or blue paint to existing stops costs $15 to $30 per stop.
- Bundling Discounts: Combining wheel stop installation with parking lot re-striping or sealcoating projects saves facility managers 15% to 20% on total mobilization costs.
For specialized guidance tailored to sensitive commercial properties, review How to Choose the Right Parking Bumpers for Medical Centers.
Avoiding Common Pitfalls in Parking Wheel Stops Installation
Even experienced maintenance crews can fall into common installation traps. Here are the top mistakes and how to avoid them:
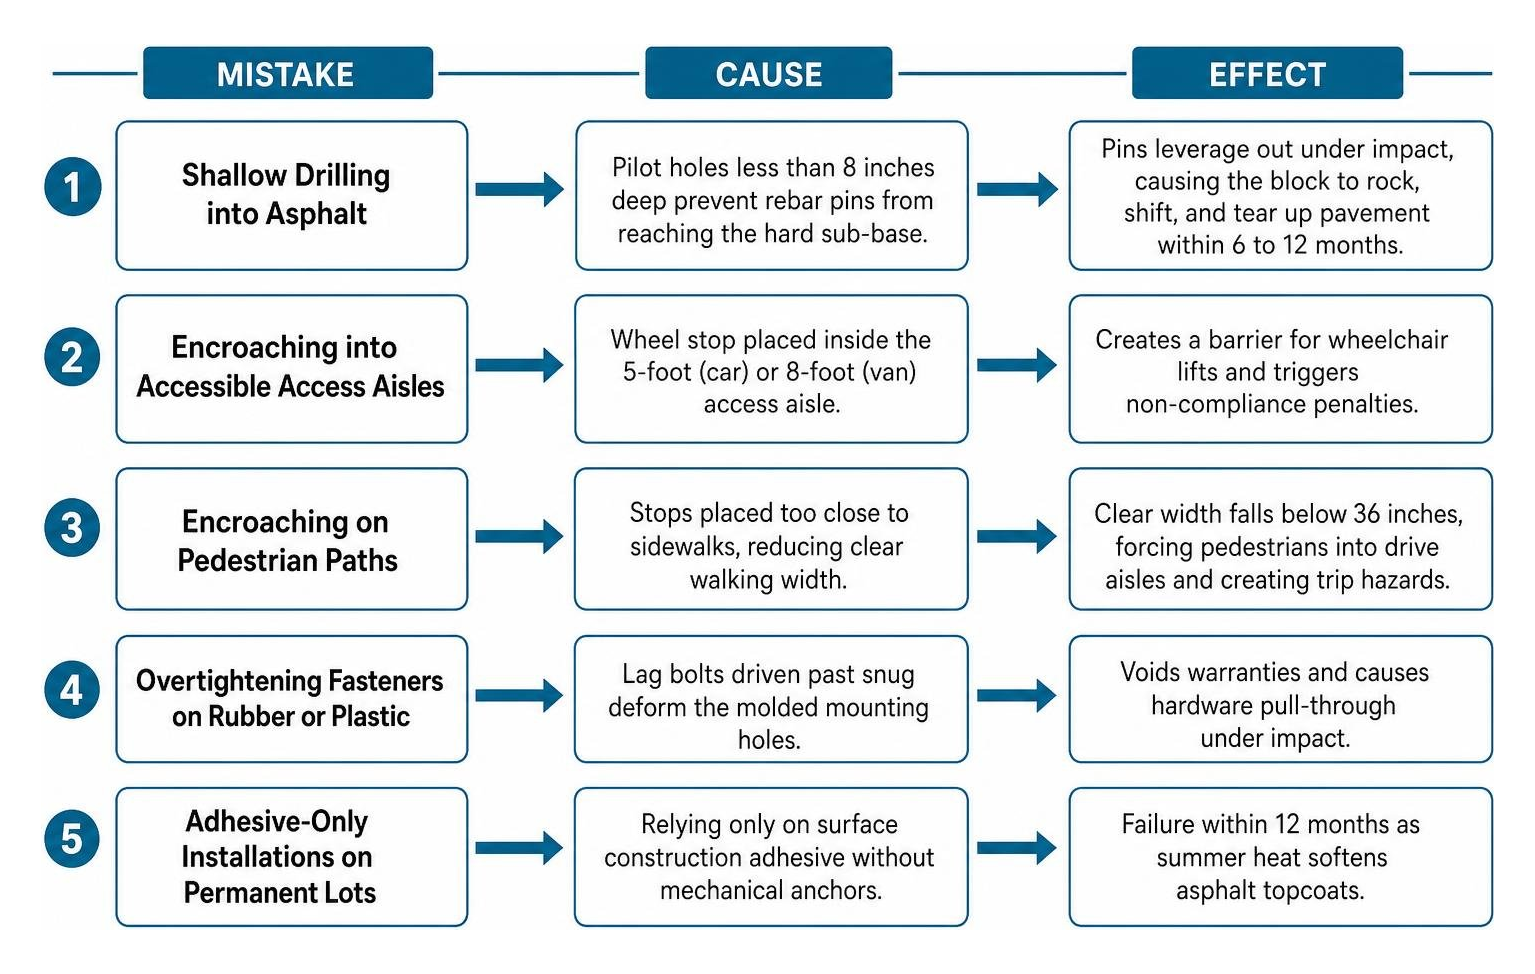
- Shallow Drilling into Asphalt: Drilling pilot holes less than 8 inches deep prevents rebar pins from reaching the hard sub-base. Under vehicle impact, shallow pins leverage out of soft asphalt, causing the block to rock, shift, and tear up the pavement within 6 to 12 months.
- Encroaching into Accessible Access Aisles: Placing a wheel stop inside an ADA access aisle (the 5-foot aisle for cars or 8-foot aisle for vans) creates a barrier for wheelchair lifts and triggers non-compliance penalties.
- Encroaching on Pedestrian Paths: Placing stops too close to sidewalks reduces clear walking width below 36 inches, forcing pedestrians into drive aisles and creating severe trip hazards.
- Overtightening Fasteners on Rubber or Plastic: Driving lag bolts past snug on rubber or plastic blocks deforms the molded mounting holes, voiding warranties and causing hardware pull-through under impact.
- Adhesive-Only Installations on Permanent Lots: Relying strictly on surface construction adhesive without mechanical anchors on asphalt surfaces leads to failure within 12 months as summer heat softens topcoats.
Review complete safety standards at Wheel Stop Installation: Easy Step By Step Guide & Standards .
Frequently Asked Questions About Parking Wheel Stop Installation
How deep should anchor holes be drilled into asphalt surfaces?
Anchor holes for asphalt pavement must be drilled 8 to 12 inches deep using a rotary hammer drill and masonry bit.
Asphalt is a flexible surface that expands and softens during hot summer months. Driving steel rebar pins 8 to 12 inches deep ensures the hardware penetrates through the asphalt layer and anchors into the compacted stone aggregate sub-base beneath. Drilling shallow holes (e.g., 3 to 4 inches) allows vehicle tire impacts to loosen the pins, causing the stop to shift, dislodge, and break the asphalt surrounding the hole.
Can parking wheel stops be installed inside ADA access aisles?
No, parking wheel stops must never be installed inside or protrude into designated ADA accessible parking spaces or their adjacent access aisles.
ADA standards require access aisles (5 feet wide for standard spaces and 8 feet wide for van-accessible spaces) to remain completely flat, smooth, and free of vertical obstructions. Wheel stops placed inside an access aisle block wheelchair transfer routes, delay ramp deployment, and violate federal accessibility standards. Always maintain a minimum 36-inch clear pedestrian path around any adjacent wheel stop.
What is the average price for professional wheel stop installation?
Professional installation pricing generally ranges from $65 to $125 per stop for precast concrete and $85 to $150 per stop for recycled rubber, including materials, layout marking, hardware anchoring, and reflective coating.
A typical commercial parking lot requiring 50 wheel stops costs between $3,250 and $6,250 fully installed. Removing old or broken stops adds $20 to $45 per unit. Property managers across the DFW Metroplex can save 15% to 20% on overall project costs by bundling wheel stop installation with scheduled parking lot striping, sealcoating, or sign installation.
Conclusion
Executing a proper parking wheel stops installation protects property walls, curbs, utility poles, and pedestrians while keeping your parking facility organized and fully compliant. From selecting heavy-duty precast concrete blocks to anchoring flexible recycled rubber stops, accurate layout planning and surface-matched hardware are essential for long-term performance.
At Lone Star Parking Maintenance, we deliver professional parking facility maintenance across the DFW Metroplex. Whether you need single-stop replacements, lot-wide ADA compliance audits, striping, power washing, or structural safety upgrades, our experienced team ensures your facility remains safe, functional, and visually appealing.
To upgrade your facility layout, learn more about our Protective Pole Covers and Curb Stop Installation services today!